Welcome to Archicad!
Part 2: Modeling
Jump to:
Watch: ‘Modeling with Archicad in 15-minutes’ video
Step-by-Step Instructions
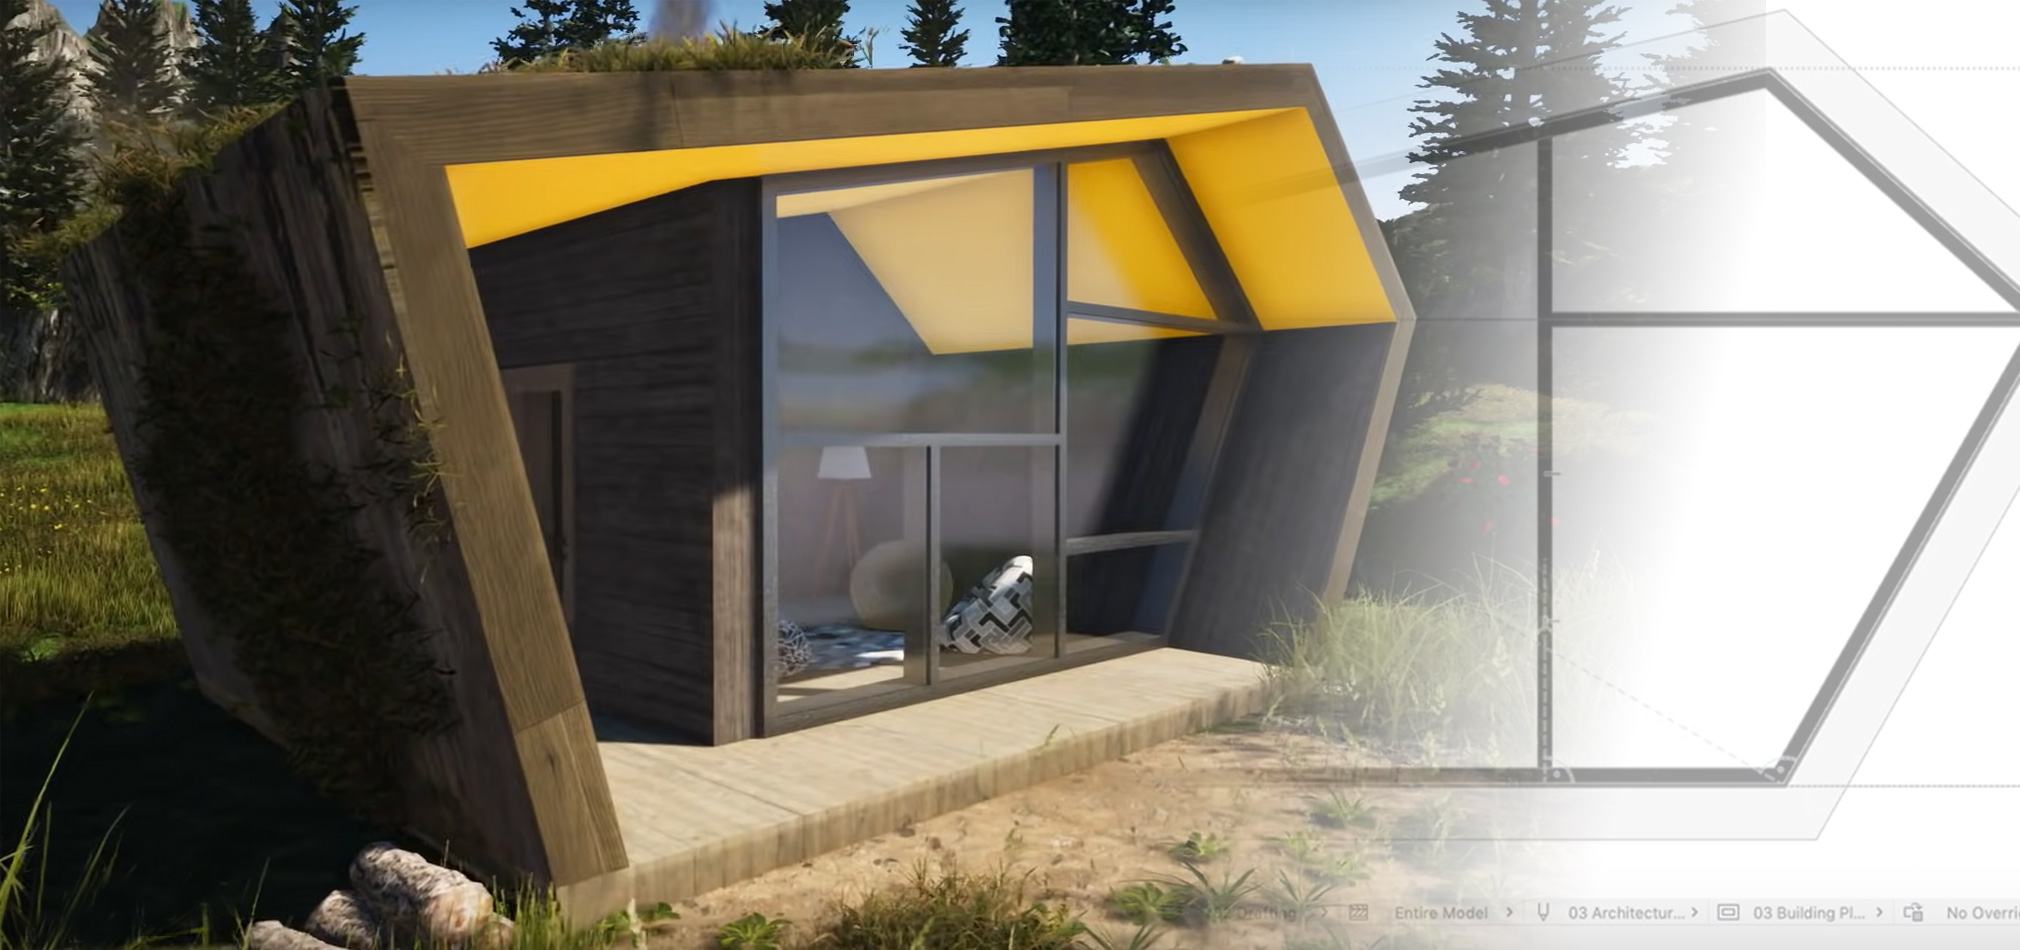
WATCH: Modeling the Cabin
Watch the video below to discover how to create the Forest Cabin shown above:

Step-by-Step Instructions
Start Archicad
- Open a New Project
- Select ‘Archicad template’
- Select ‘Standard Profile’ for the Work Environment
Set Navigator and Story Height
- Open and dock the Navigator
- Change the Story Height to 2600 mm
Creating Walls
- Create 3 connected walls on the ground floor
- Move the copy of one of the walls
Creating the Slab
- Create a Slab on the ground floor
- Stretch it on side
- Adjust the length of the walls
Creating the Roof
- Place a Multi-Plane Roof on the ground floor
Slanting Walls
- Slant two of the existing walls
- Adjust the edge of the slab to the slanted walls
- Change the height of the Walls
Modifying the Roof
- Stretch the roof planes
- Move the ridge of the roof horizontally
Trim Elements to Roof
- Connect the Walls with the Roof
- Fine-tune the Roof’s edge to match the Wall’s shape
- Create a Curtain Wall on the ground floor
- Adjust its shape
- Add frames to it
- Place an entrance door
- Add some bean bags and a fireplace
- Move them in the right position
- Stretch the chimney of the fireplace
Adding a terrain
- Create a Mesh on the ground floor
Adding contour lines
- Change on the Mesh nodes height
- Create some splines
- Add the splines to the Mesh using the Magic Wand
- Elevate some Mesh nodes
Placing Trees
- Add some Trees in 3D to the terrain
- Trees can be created using the Object tool.
Need help?
Request a Callback
Complete the form (right) and we will call you – OR:
Call us NOW on:
617-485-4202 (within the US)
OR
1800-344-3468 (from Canada)