3 Steps to get started!
Now that you have registered for your Archicad Trial, simply follow the steps below to get up and running:
1. Download Archicad
Visit Graphisoft’s download site to download the Archicad installer.
Before you start the installation, check the article How to Install Archicad and make sure that your computer meets the hardware requirements.
Download ArchicadA new version of Archicad is released each year. You can always find the installer of the latest version on GRAPHISOFT’s download site. Login with your GSID or sign up. Click on the link, then select the installer version that matches your machine’s operating system (Windows or macOS) and click on it. Define the location of the file on your computer then go ahead and download it.
2. Install Archicad
Launch the installer you just downloaded with a simple double-click.
Then, follow the instructions of the wizard.
TIP: Apple Mac users may see a system prompt ‘Archicad Installer is an app downloaded from the internet. Are you sure you want to open it?‘ Please select ‘Open’ to continue.
1. Start the installer
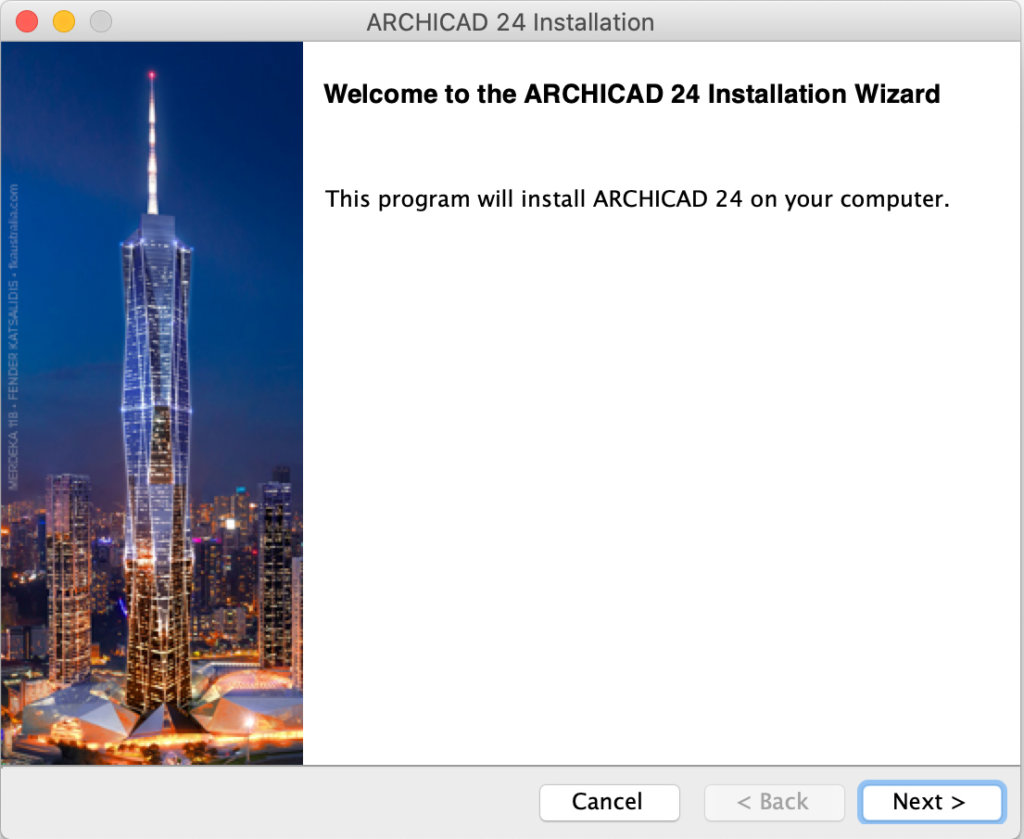
Click Next to continue.
2. License Agreement
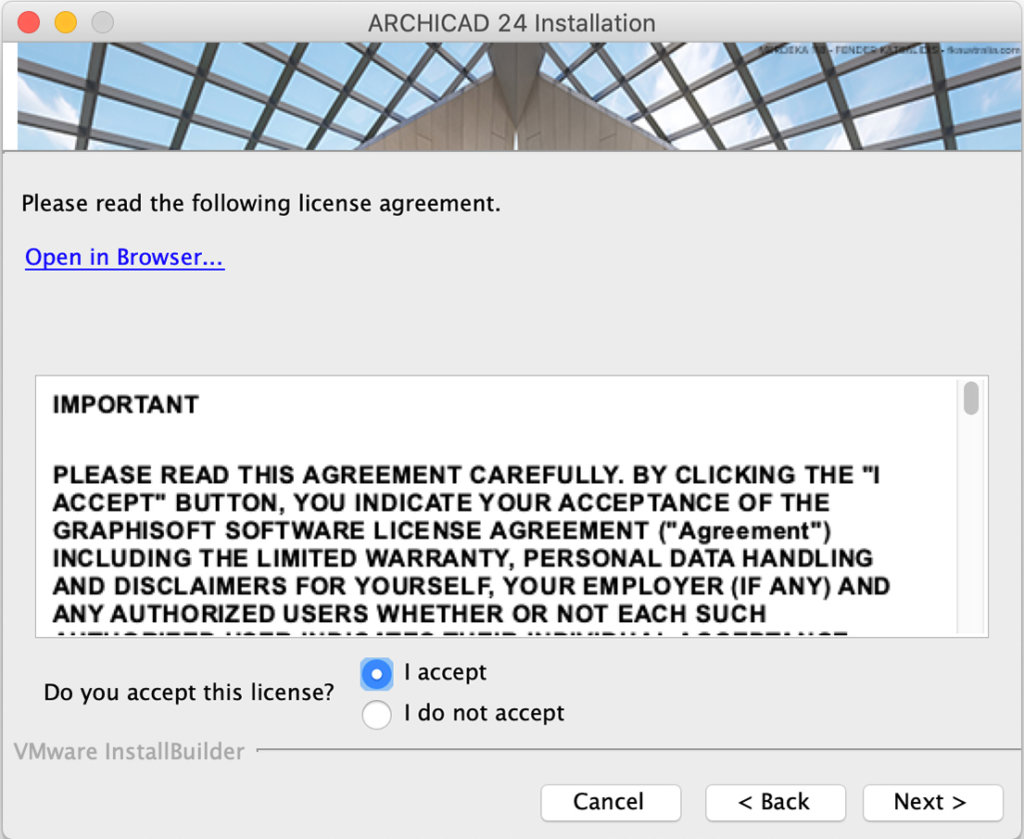
Read the license agreement carefully and accept it. Click Open in Browser to see the agreement in a new window.
Click Next.
3. Select Installation Directory
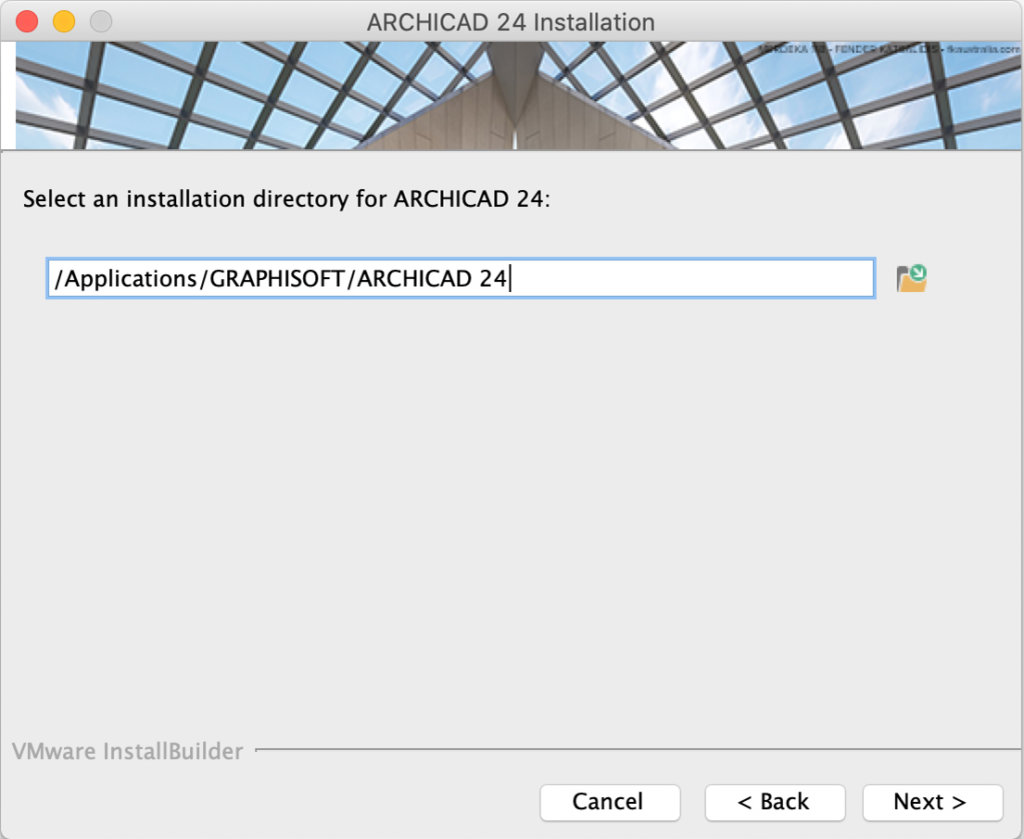
On this page, define the file path of the installation. As a rule, you should choose the path suggested by default, to simplify the installation of any future updates.
To confirm the file path, click Next.
4. Choose Setup Type
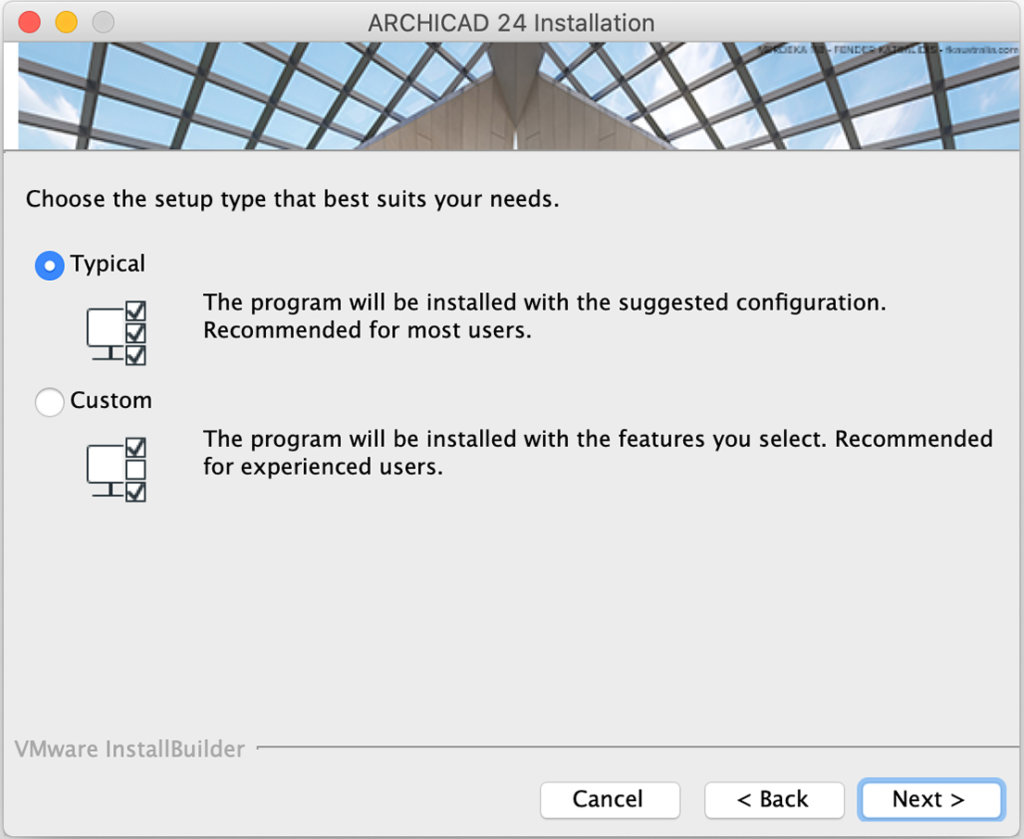
With the “Typical” installation option (recommended), you will install Archicad together with all of its components (e.g. Library).
Alternatively, choose the “Custom” installation option to install only specific program components.
After you make your choice, click Next.
5. Installation Summary
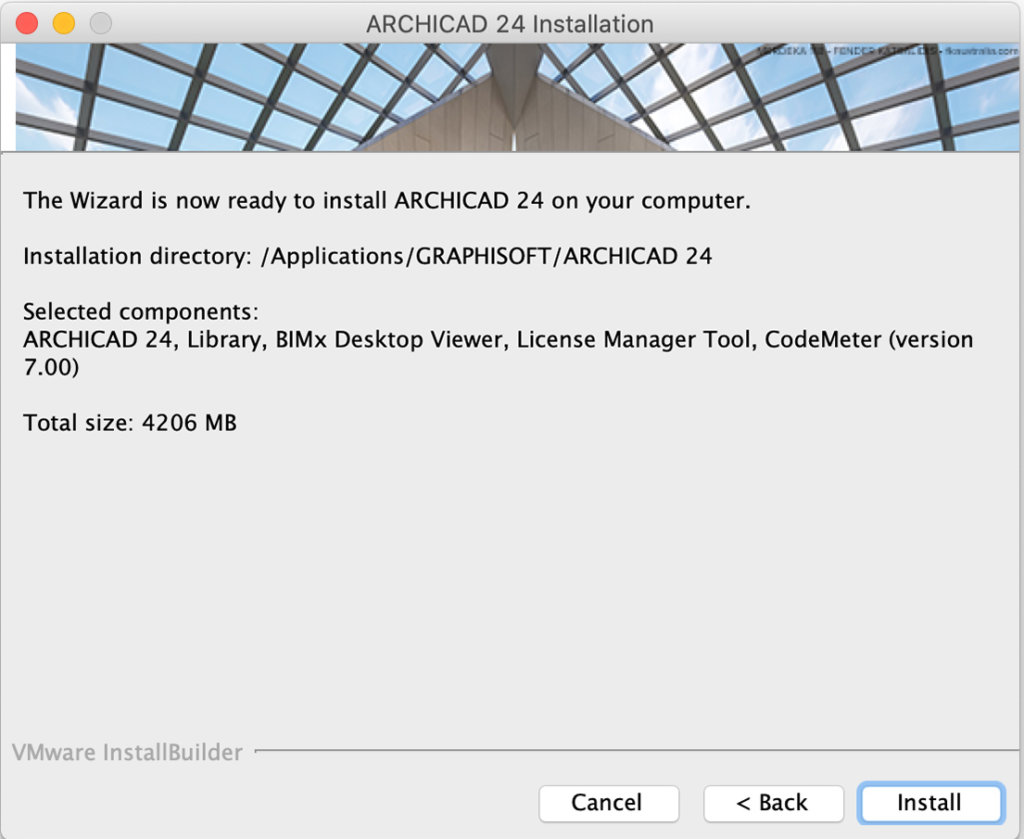
This screen summarizes your chosen configuration, so you can make any needed corrections to the installation settings.
Click Install to begin installation.
6. Installation Underway
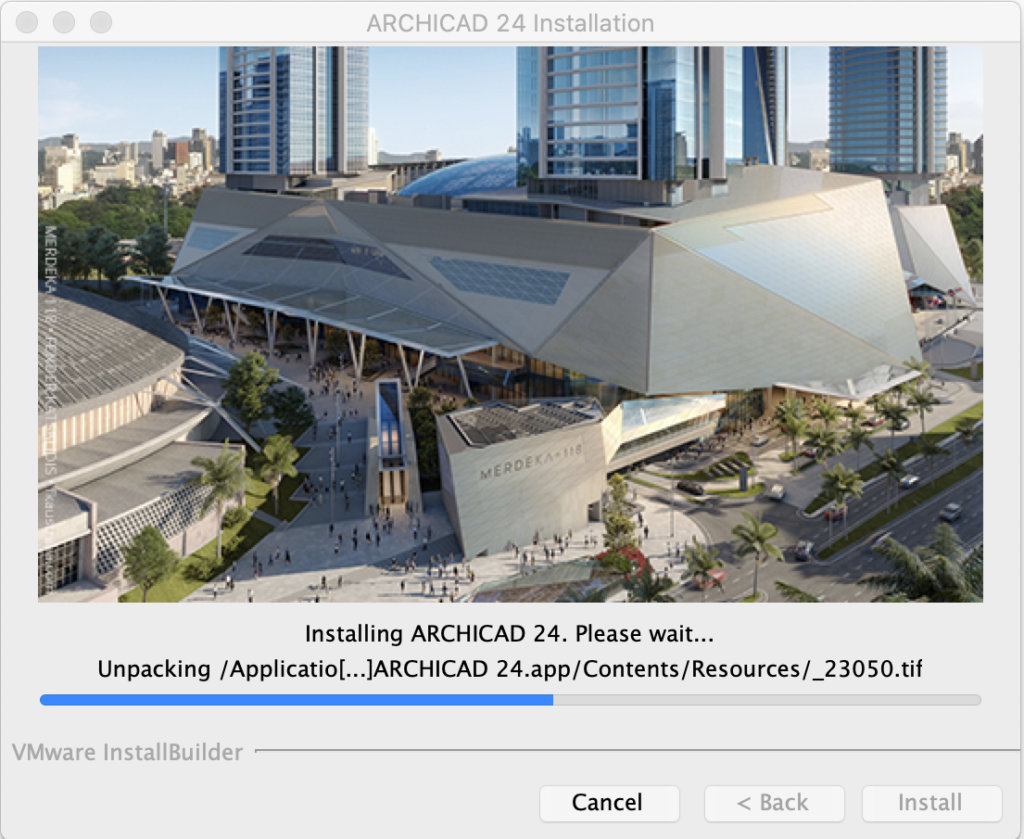
Depending on your Hardware configuration, this process may take several minutes. In addition to other components, CodeMeter, the BIMx Desktop Viewer, and the License Manager Tool are all installed in the background.
7. For Mac users
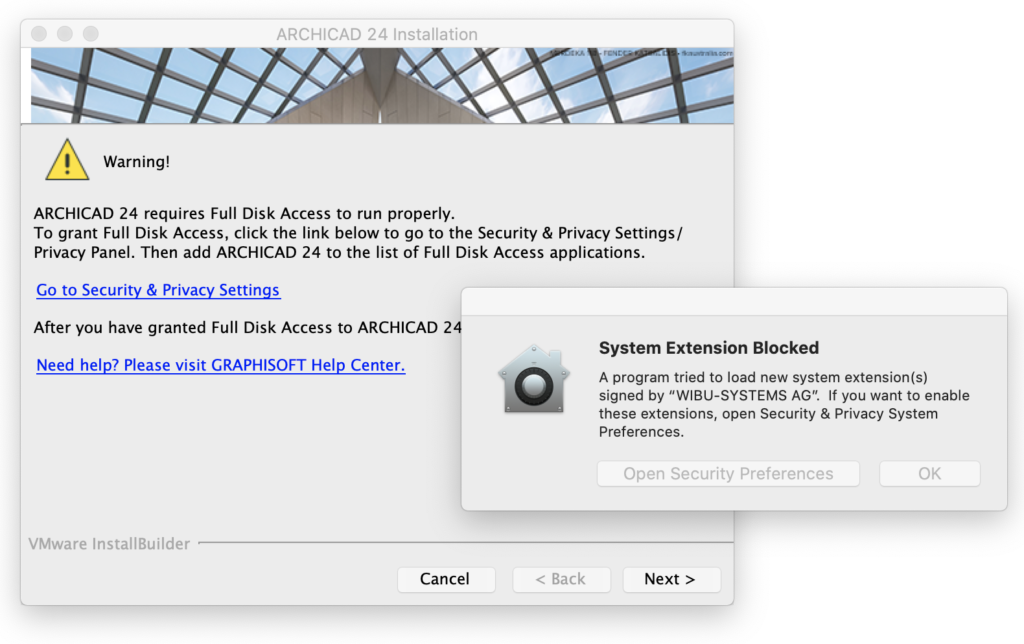
Mac Users may see a warning: ‘Archicad requires Full Disk Access to run properly‘ and/or ‘System Extension Blocked’. Follow the dialog information to fix these issues.
8. Shortcuts/Automatic Updates
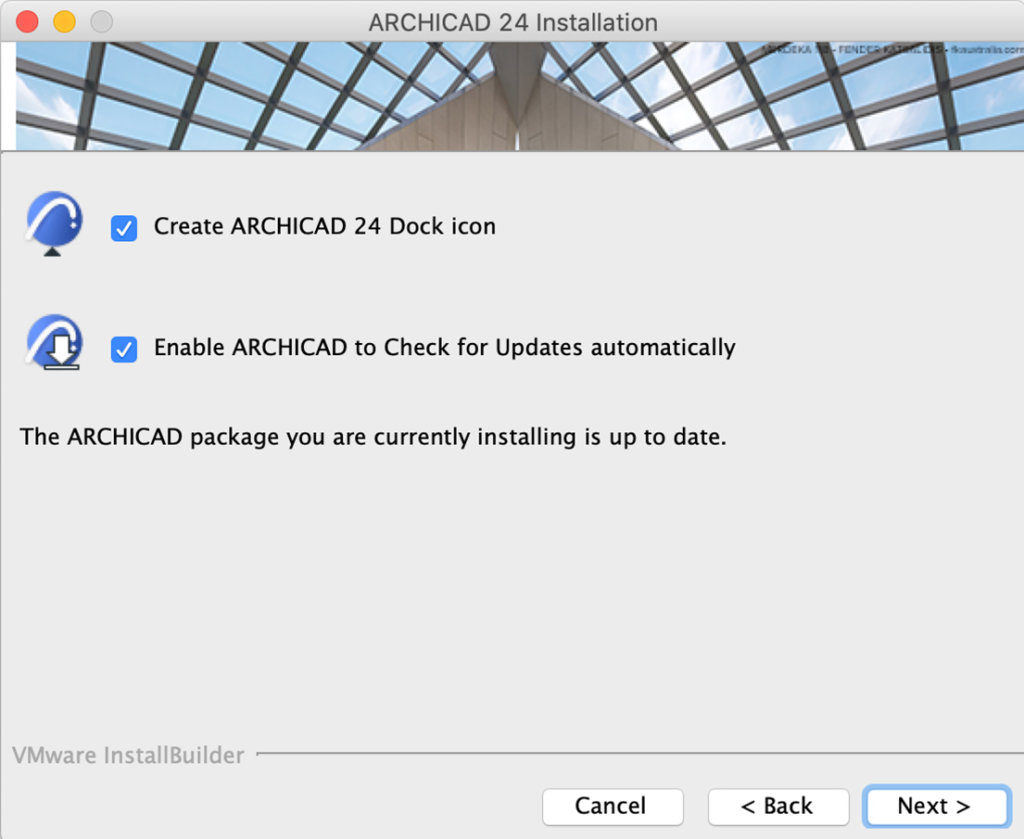
Here you can create an “Archicad 23” Desktop shortcut.
Review the setting to Enable Archicad to Check for Updates automatically (checked by default).
Confirm your choices by clicking Next.
9. Information on Archicad Help
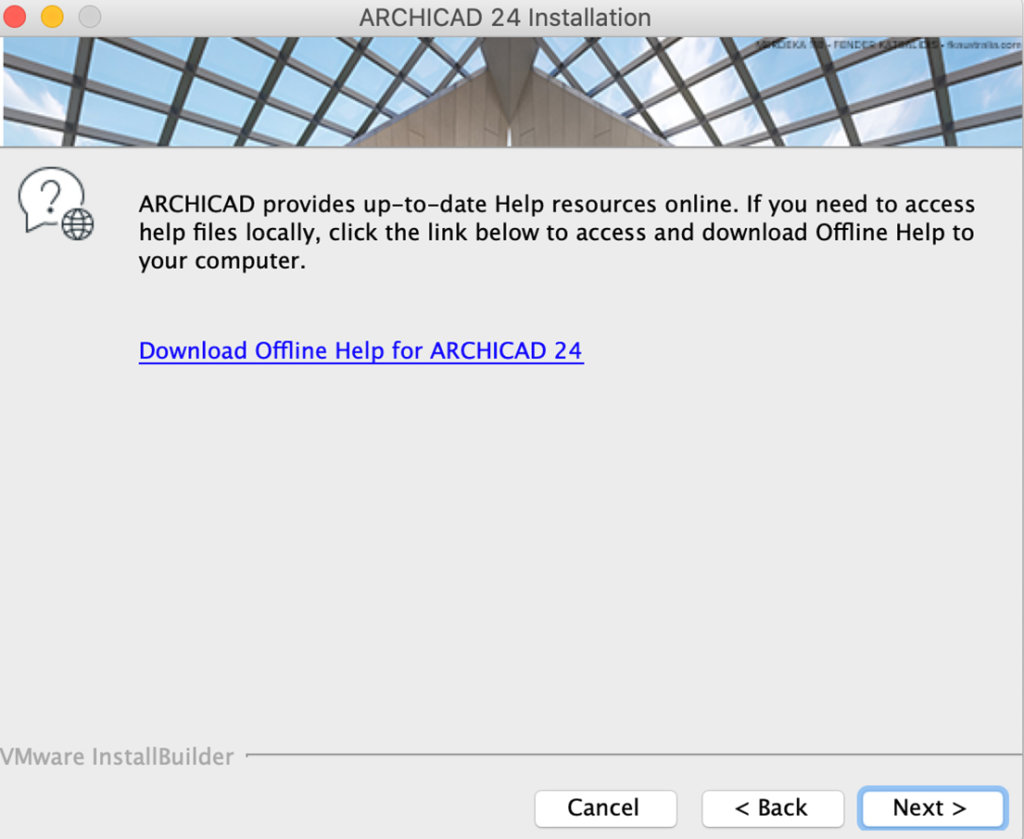
Archicad installation does not automatically install Help files to your computer. Archicad provides up-to-date Help resources online.
If you work online, then you do not need to install Help files to your computer. Click Next to continue.
If you work offline and/or your internet connection is unstable, it is recommended to download and install Offline Help. Click the link to access and download Help files to your computer.
Click Next.
10. Installing CodeMeter
If the installation process includes installing CodeMeter, you are prompted to restart your computer now.
11. Complete Installation
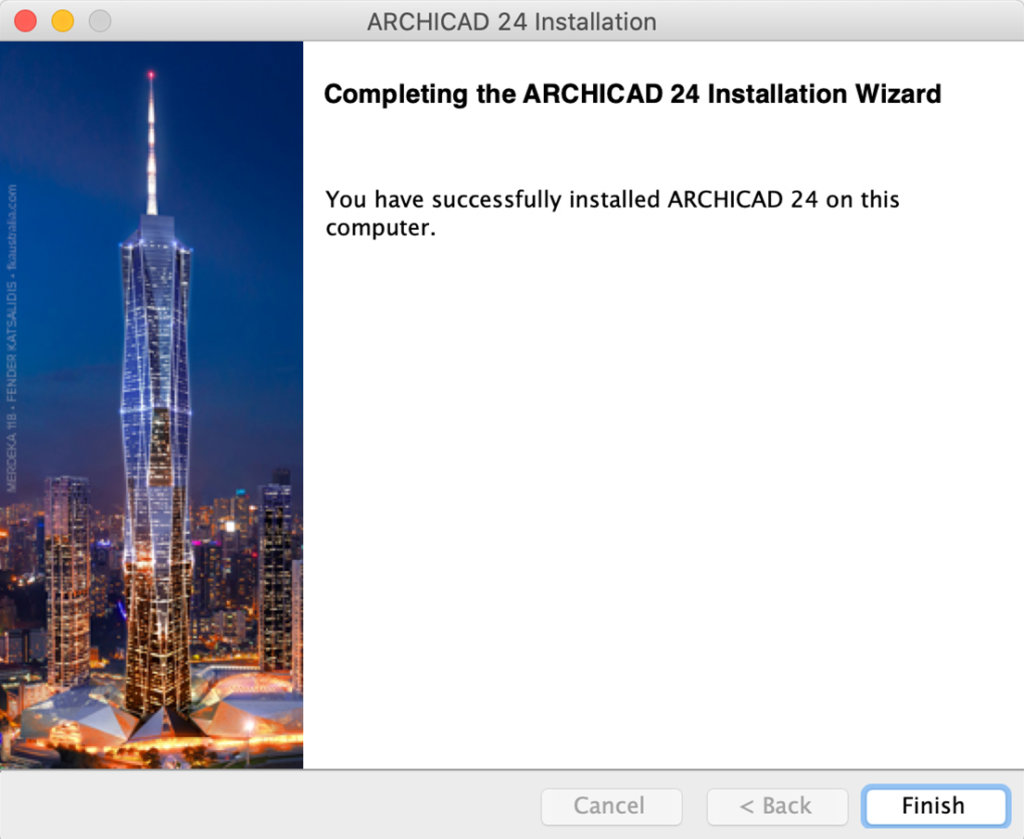
Click Finish to complete the installation process. You may be prompted to restart your computer.
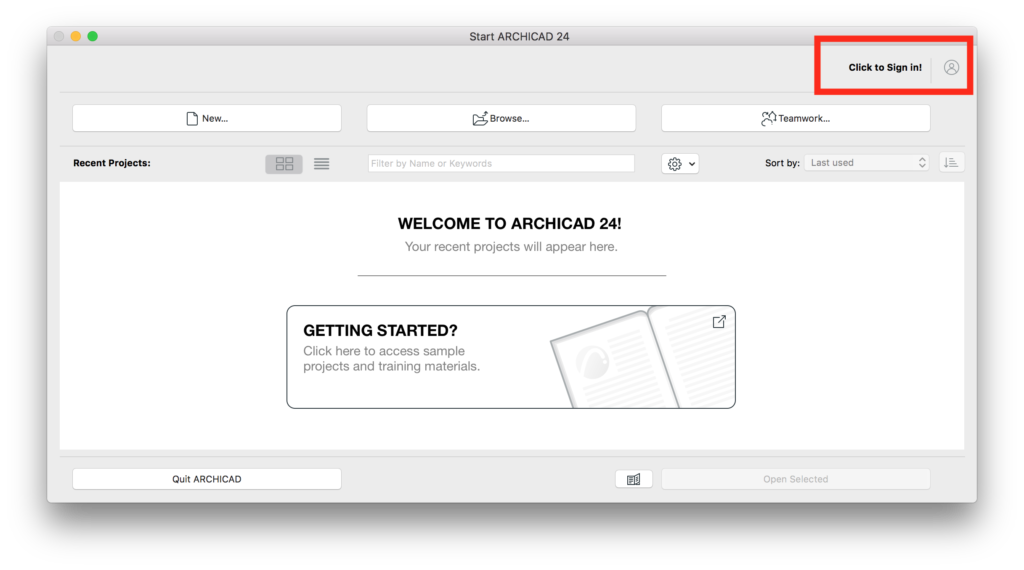
3. Activate Archicad
Launch Archicad and click the Click to Sign in button.
On the login page, be sure to use the credentials you used when registering for the Trial.
Need help?
Request a Callback
Complete the form (right) and we will call you – OR:
Call us NOW on:
617-485-4202 (within the US)
OR
1800-344-3468 (from Canada)
